
Stitching with natural materials is so much more gratifying than with synthetic materials such as polyester or nylon. You can see the difference with my strawberry projects. Albeit styles have changed dramatically over the years as well.
I have been making this type of of strawberry for decades. I made them in the '80's for a crafts fair when I was very young. They sold in egg cartons.
{Isn't that clever?}
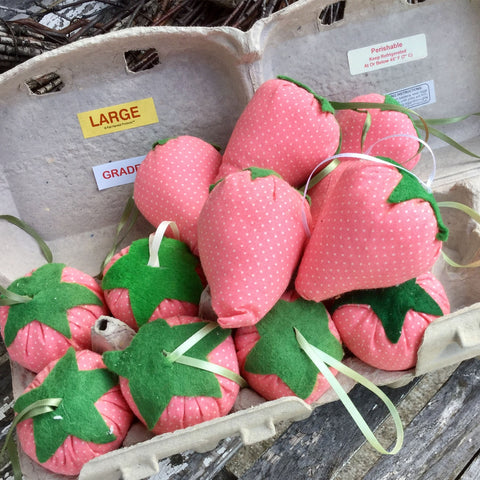
They were made from regular polka dot cotton fabric, stuffed with poly fill and nylon ribbons to hang as ornament on your Christmas Tree. They went perfectly with strung popcorn garlands and crocheted snowflakes, which I also made.
{Yes, I know, I still have a dozen.}
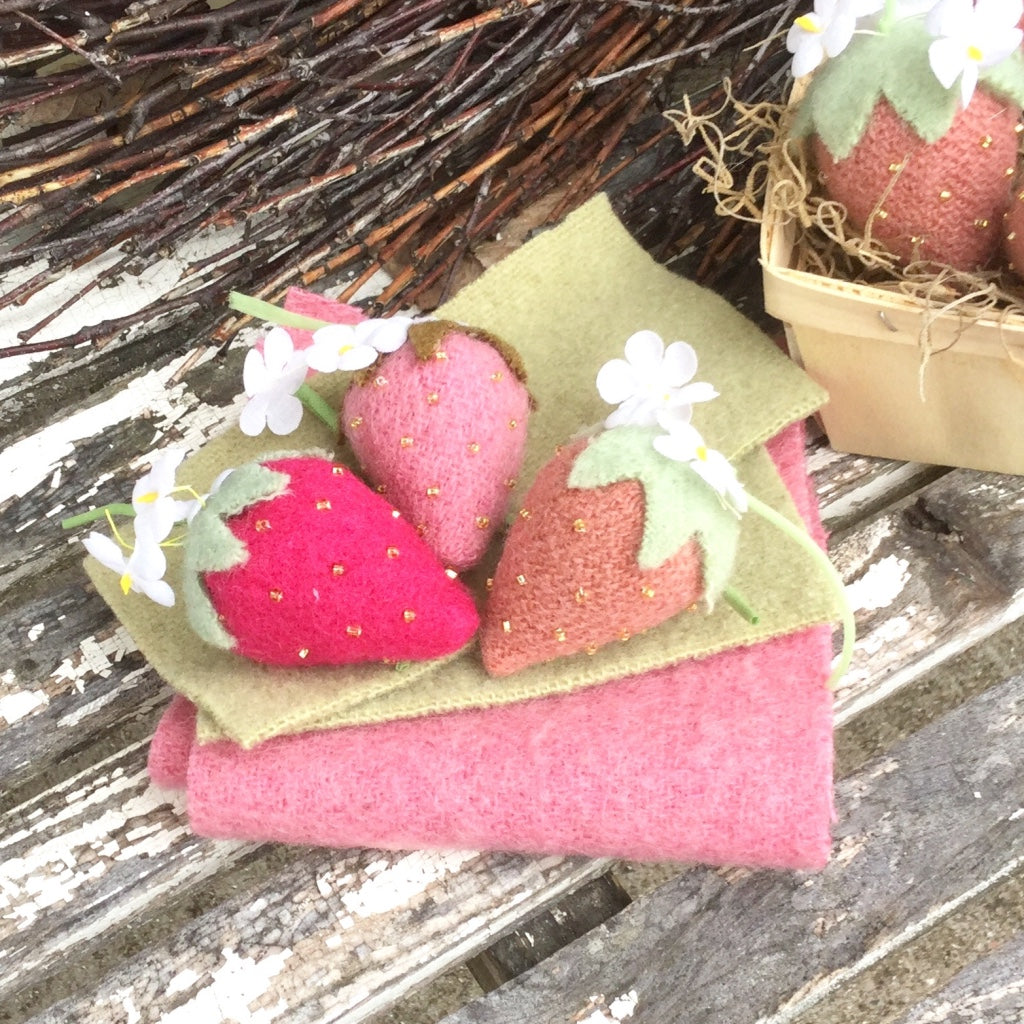
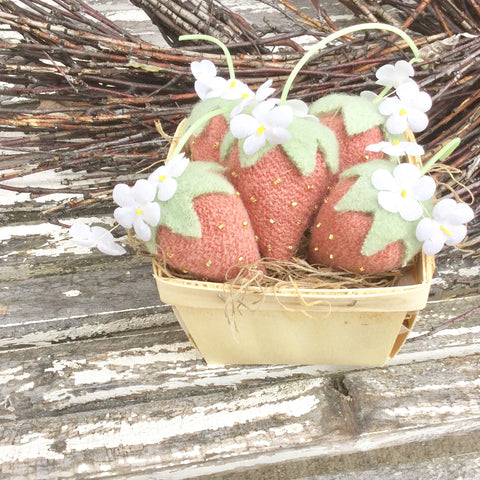
Being much more environmentally minded I am now a making these delicious little, life sized strawberries out of felted wool blanket pieces.
I stuffed them with wool from a local sheep that I had cleaned and carded, crushed walnut shells for heft, (and just in case you want to poke them with needles and pins), vintage millinery flowers, vintage beads from the Pearl Hemenway collection, and vintage millinery stems. (If you purchase any of my kits, I also include a vintage sewing needle and strong cotton thread.)
If you would like to make a few for yourself or to give as a little gift. I'll show you how:
The first thing you will want to do is to cut out the pieces. No matter the grain of the fabric, it's felt.
Fold the berry piece with straight sides meeting, hand or machine stitch a narrow seam along the edge, careful not too close, if hand stitching, use a back stitch.
Next, turn the berry inside right, make a running stitch around the open side of the strawberry.
At this point you can stitch the beads on in alternating rows or, wait until the end to stitch them on. I found out later that it was a little bit easier to stitch the beads after stuffing.
Take a tiny little bunch of the wool and get it into the point of the berry, nice and firm. You don't want the points to be unfilled as in the berries I made back in the '80's.
Grab a handful of wool, flatten out in a circle. Put a small teaspoon of walnut shells in the center. Fold the wool around the shells and stuff it into the berry.
Poke it down, if it doesn't fit, take some wool away.
Pull up the running stitch thread tightly. Holding it with your hand, insert the needle back and forth many times, cinching up the berry.
Tuck the edges of the berry inside if you can.
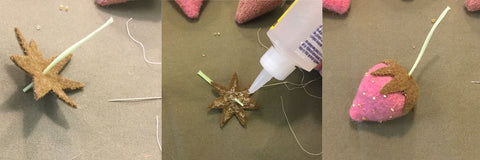
Grab the strawberry top, cut a small slit in the middle and insert one end of the flower stem through it. Apply fabric-tac or 3-in-1 craft glue generously all over the green top, place it strategically on top of the berry, glue side down.
Now it's time to decorate. I thought the little flowers on these "Dangling Geisha Flowers" looked like strawberry blossoms, combined with the yellow flower stamens acting as shoots.
Separate the flowers from the string, remove any glue left behind. There should be a hole big enough for the end of the stamen. Use a dab of glue to hold the stamen in place and then glue onto the top of your strawberry.
To stitch the beads, find an inconspicuous place to insert the needle with a knotted thread. Push the needle out where you want a bead, load a bead on the needle, then do a little back stitch next to the thread. Come up in the next place where you want a bead. Stitch all around the berry, alternating as you go. Slip knot at the end and hide your thread.
Now go make a few more to fill the berry tray.
The kits are available here:
xo
mi